Easy steps to make pottery with clay at home
This page contains AFFILIATE LINKS. If you choose to purchase after clicking a link, we may receive a commission at no extra cost to you. Plus, as an Amazon Associate, we earn from qualifying purchases. Read more on the disclosure policy page.
Transform your home into an art studio, make pottery with clay at home, and learn online how to create beautiful ceramic vessels without a potter’s wheel. Pottery is a fascinating art form that allows you to unleash your creativity and create beautiful clay objects right in the comfort of your home. There are different types of clay to experiment with and several hand-building techniques to start. Pottery is a skill that develops with practice, so don’t be discouraged if your first attempts aren’t perfect. There are also not only local lessons but also online classes for detailed guidance. So, embrace the process, learn from each experience, and keep refining your craft.


CREDIT: AMAZON
Easy steps to make pottery with clay at home
Materials You’ll Need:
So, if you’re looking to embark on a pottery journey, here are some basic materials you’ll need to get started.
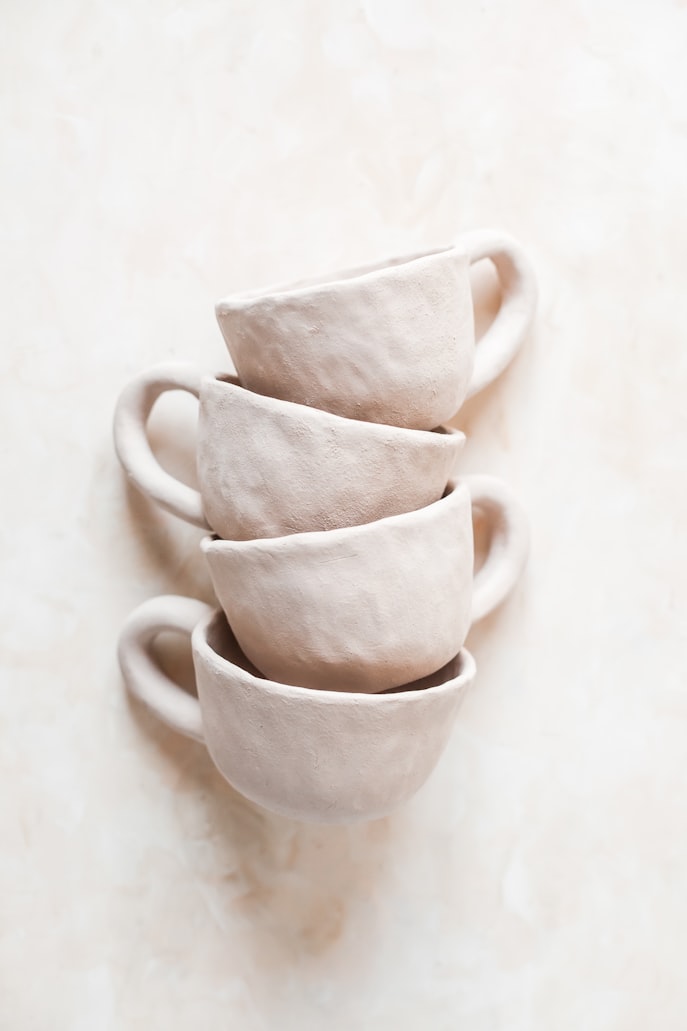
Clay type
Choose a clay type that suits your preference and project, such as earthenware, stoneware, or porcelain. You can easily find clay at art supply stores or order it online.
Advertisement

CREDIT: AMAZON
Pottery Wheel
While not necessary, a pottery wheel can make the process smoother and help you shape your clay with precision. If you don’t have one, don’t worry! Hand-building techniques can be just as rewarding.
Clay Tools
Gather various pottery tools like a rolling pin, sculpting tools, trimming tools, and a sponge for smoothing surfaces.

Advertisement

CREDIT: AMAZON
Kiln or Oven
If you want to fire your pottery and make it durable, you’ll need access to a kiln. If a kiln is not available, you can opt for air-dry clay, which doesn’t require firing.
Glazes (optional)
Glazes add color and a glossy finish to your pottery. Explore different glaze options and choose the ones that speak to you

CREDIT: AMAZON
The Process of making pottery with clay

Preparation
Start by preparing your workspace. Cover the table or surface with plastic or a dedicated pottery mat to prevent clay from sticking.
Kneading the Clay
Before you begin shaping, knead the clay to remove any air bubbles and make it more pliable. Kneading also helps improve the clay’s consistency.
Shaping the Clay
Use your hands or a rolling pin to flatten the clay to your desired thickness. From there, you can experiment with different techniques like pinch pots, coil pots, or slab construction. Let your imagination take the lead and don’t be afraid to try new shapes and forms
Refining and Finishing
Once you’ve achieved the basic shape, use your tools to refine the details, smooth the surfaces, and add any decorative elements. Take your time to ensure the craftsmanship is to your liking.

Drying
Allow your pottery to dry completely before firing or applying any glazes. This step is crucial to prevent cracking during the firing process. Patience is key!
Firing
If you have a kiln, carefully follow the manufacturer’s instructions to fire your pottery. This process transforms the clay into a durable ceramic material. If you’re using air-dry clay, simply allow it to air-dry according to the manufacturer’s recommendations.
Glazing
If you wish to add color and texture to your pottery, apply glazes according to the instructions provided. Glazing can be an art in itself, so feel free to experiment with different techniques like dipping, brushing, or layering.
Final Firing
Once you’ve applied the glazes, fire your pottery again to set the colors and achieve the desired finish. Follow the specific temperature and duration guidelines for the type of clay and glazes you’re using.
After the final firing and cooling process, your pottery is ready to be admired and used! Whether it’s a decorative piece like a vase or a functional object like a tray for jewelry, cherish the creative journey you’ve embarked upon.
Hand-built ceramics online lessons
If you love pottery and want to learn at home without a potter’s wheel, a hand-built ceramics online lesson may be ideal for you. That’s why I was excited when I learned about Creativebug Classes and ceramicist Linda Fahey. Linda Fahey is a ceramic artist and designer of the studio and shop called YONDER. She creates sculptural and functional ceramics specializing in hand-built forms with illustrative surfaces. Her work renders the palette and the feel of the coast with a very modern design aesthetic. Moreover, she makes production pottery for smaller lifestyle shops all over the world. And, she is designing and making work for Anthropologie.


This page contains AFFILIATE LINKS. If you choose to purchase after clicking a link, we may receive a commission at no extra cost to you. Plus, as an Amazon Associate, we earn from qualifying purchases. Read more on the disclosure policy page.
Advertisement


2 Comments
Silk Cords
Very nice. Surprisingly good results without a wheel in most of the pictures also
SiriusSea
Really neat and creative ideas!